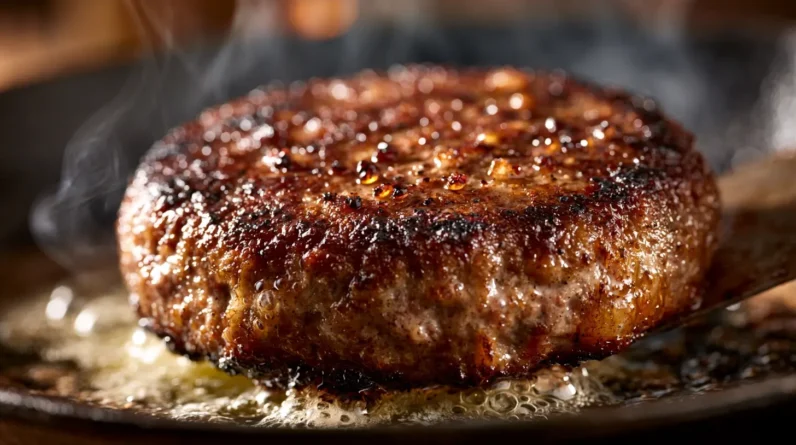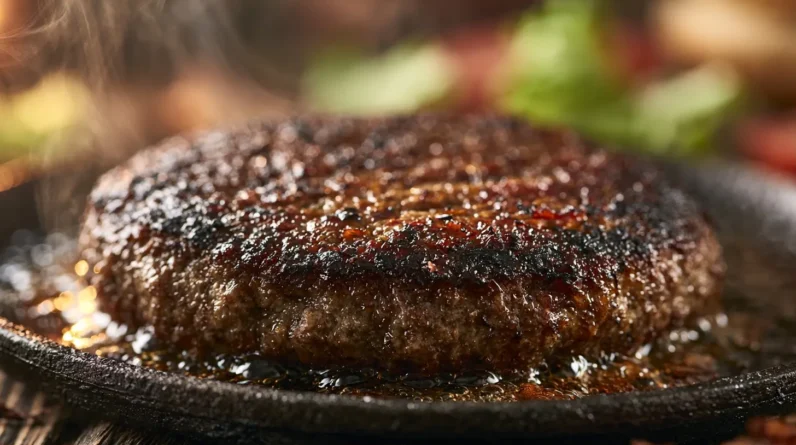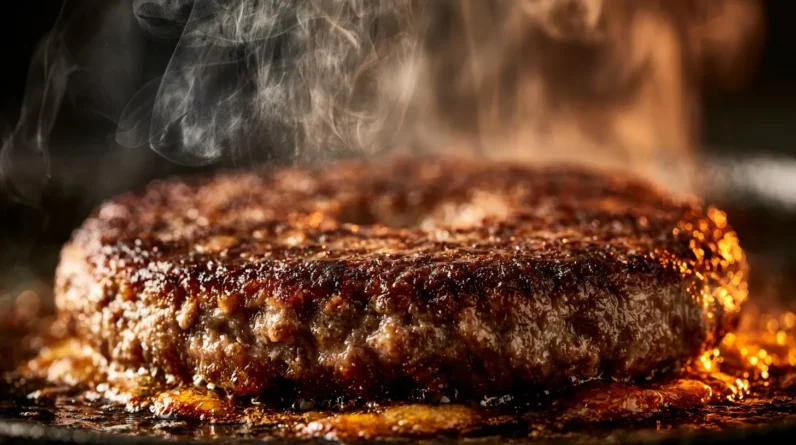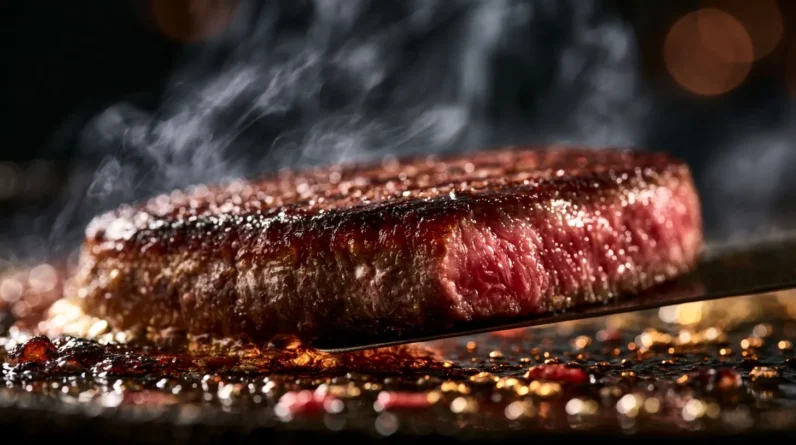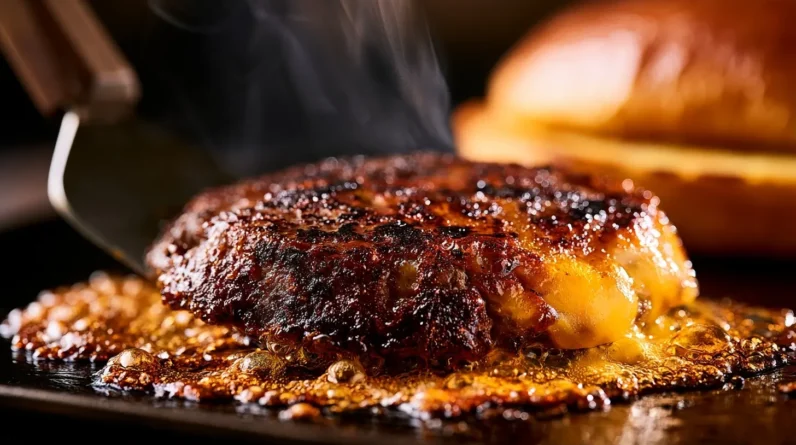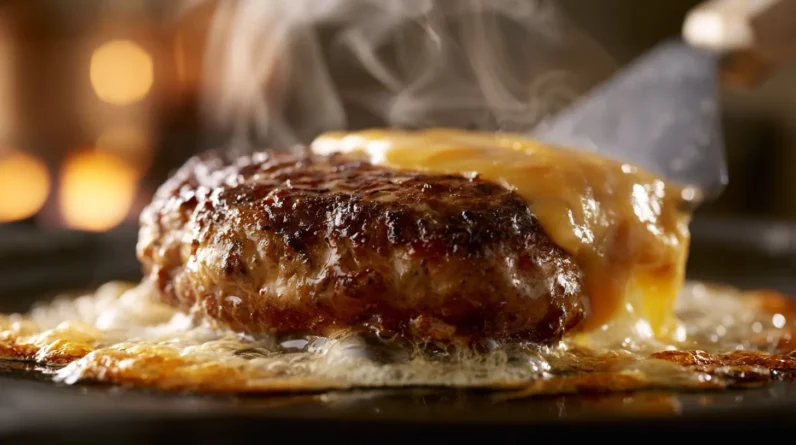



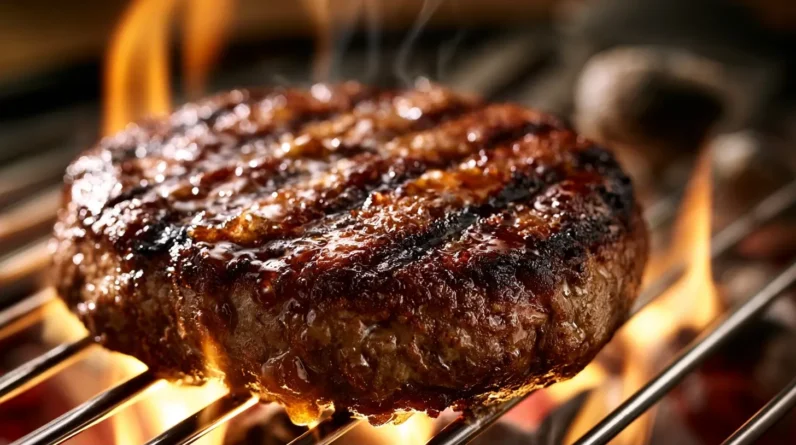
We start with an 80/20 fat ratio, grind our own blends, and shape ¾-inch patties with a center dimple to stop doming. We season with coarse kosher salt right before cooking, never before. We preheat our grill to 450-500°F, flip only once, and resist pressing the meat. These fundamentals separate structurally sound, juicy burgers from dry, dense failures. Stick with us, and we’ll break down exactly how each technique works.
Pick the Right Beef Burger Fat Ratio
Because fat drives both flavor and texture in a burger, we don’t leave this ratio to chance. We target 80/20 lean-to-fat as our baseline, adjusting toward 75/25 when we want richer mouthfeel and better char development. Ideal cuts include chuck, short rib, and brisket, each contributing distinct flavor profiles: chuck delivers balanced beefiness, short rib adds decadence, and brisket brings smoky depth. We combine these cuts to build complexity rather than relying on a single source.
Below 15% fat, patties dry out and lose cohesion on the grate. Above 25%, we risk excessive shrinkage and flare-ups. We grind our own blends when possible, controlling fat distribution precisely. This precision guarantees consistent searing, juiciness, and structural integrity from edge to center.
Shape Patties That Won’t Shrink on the Grill
Once ground beef hits the grate, proteins contract and moisture evaporates, so we compensate for shrinkage before the patty ever touches heat. We measure patty thickness at ¾ inch and press a shallow dimple into the center, roughly ¼ inch deep. This depression counteracts the natural doming that occurs as the edges cook faster than the middle, giving us a flat surface for even contact and consistent bun coverage.
Meat handling matters as much as shape. We work the beef minimally—overworking activates myosin and tightens the protein matrix, accelerating shrinkage. We portion cold, loosely packed meat and shape it with light pressure, forming a patty that holds together without becoming dense. We also size patties slightly larger than the bun, anticipating a 20% diameter reduction during cooking.
Season Your Beef Burger at the Right Time
Salt draws moisture to the meat’s surface through osmosis, so timing determines whether that moisture works for us or against us. We season immediately before cooking, not minutes ahead, to prevent salt from dissolving proteins and creating a dense, sausage-like texture. Our seasoning techniques rely on precision rather than guesswork—we apply salt and pepper generously just as patties hit the grill, locking in juices instead of drawing them out prematurely.
For flavor enhancements that elevate results, we recommend these approaches:
- Coarse kosher salt for even distribution and a clean, crisp crust.
- Freshly cracked pepper added right before cooking to preserve aromatic oils.
- Garlic powder or smoked paprika mixed sparingly into the exterior, never the interior.
This method guarantees maximum juiciness and a well-seasoned, restaurant-quality bite every time we grill.
Nail Grill Temperature and Timing for Juicy Burgers
Since heat control separates a mediocre burger from an exceptional one, we preheat our grill to 450-500°F before the patties ever touch the grate. This grill heat sears the exterior fast, locking in juices while the interior cooks evenly. We don’t guess—we verify temperature with a reliable thermometer, then adjust the burners or vents to maintain consistency throughout the cook.
Cooking time depends on thickness and desired doneness. For a standard 6-ounce patty, we follow this guide:
| Doneness | Cooking Time (per side) |
|---|---|
| Medium-rare | 3-4 minutes |
| Medium | 4-5 minutes |
| Well-done | 6-7 minutes |
We flip once, resist pressing the patty, and let the grill’s heat do the work. Precision here means a juicy, perfectly cooked burger every time.
Stop Flipping and Start Building Better Burgers
Great burgers don’t come from constant fidgeting—they come from restraint and technique. We understand the instinct to flip, press, and poke feels productive, but it sabotages proper cooking by releasing juices and disrupting crust formation. Instead, we build flavor through deliberate structure and patience.
- Flip once, at the halfway mark. This single turn locks in a Maillard crust on both sides without compromising internal moisture.
- Press only at the start. A firm initial press against the grill guarantees full surface contact, then hands off.
- Season in layers. Salt before cooking, then add flavor enhancement elements—compound butter, cheese, or sauce—during the final minute.
Master these three moves, and we promise a burger that’s structurally sound, deeply flavored, and cooked with precision, not panic.
Frequently Asked Questions
Can I Freeze Homemade Beef Burger Patties Before Grilling?
Yes, we freeze patties raw between parchment layers, sealed airtight. Our freezing strategies prevent moisture crystallization, ensuring texture preservation. We recommend flash-freezing individually before bagging, then thawing overnight in your fridge for ideal grill-ready density and structural integrity.
What’s the Safest Internal Temperature for a Beef Burger?
We recommend 160°F internal temperature for safe serving. We verify this with an instant-read thermometer inserted into the patty’s center. Following USDA temperature guidelines, we eliminate harmful bacteria while you’re still achieving ideal juiciness and flavor in every grilled burger.
Should I Toast My Burger Buns Before Assembling?
Yes—we’ve tested the theory that toasting prevents sogginess, and it holds true. We apply direct-heat toasting techniques for thirty seconds, adjusting timing across bun types like brioche, potato, or sesame, ensuring structural integrity beneath juicy patties.
How Long Should Burgers Rest After Coming off the Grill?
We recommend a 5-minute ideal resting period. This lets juices redistribute throughout the patty, maximizing flavor enhancement and moisture retention. Don’t skip this step—cutting resting time short compromises texture and yields a less satisfying bite.
Can I Make These Burgers on a Stovetop Instead?
Absolutely—when the grill’s out of reach, we’re not stuck. Cast-iron skillets serve as excellent stovetop alternatives, delivering that coveted crust. We’ll amplify flavor with bold burger seasonings, then sear over medium-high heat, achieving restaurant-quality results indoors.
Conclusion
We’ve covered the technical fundamentals: fat ratio, patty structure, seasoning timing, and heat management. Master these five techniques and you’ll eliminate the guesswork that ruins backyard burgers. Remember, good things come to those who wait—resist the urge to flip early or press down mid-cook. Let the grill do its job. Apply this framework consistently, and you’ll produce restaurant-quality burgers every time you fire up the grates.