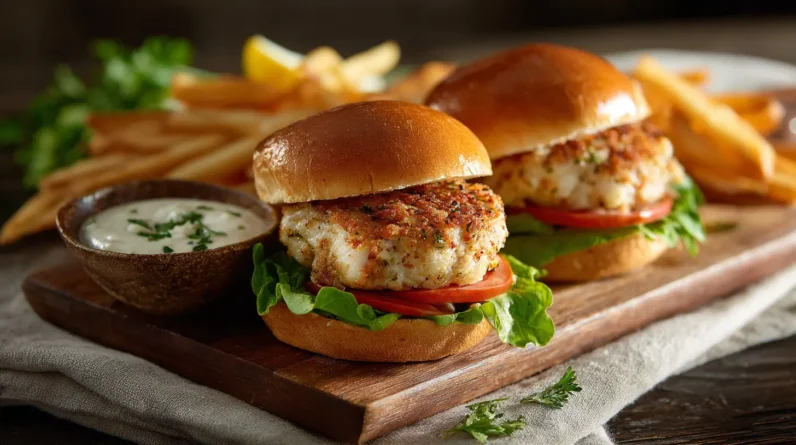
We’ve found that searing temperature directly controls the Maillard reaction, which transforms chicken burgers from pale and bland to golden-brown with complex savory flavors. The ideal range of 375°F to 400°F accelerates this chemical process while preventing carbonization above 425°F, creating that essential textural contrast between a crisp exterior and moist interior. Without precise temperature control, you’ll either underdevelop flavors or overcook the meat. Our exhaustive testing reveals the specific techniques that separate restaurant-quality results from disappointing home attempts.
The Science Behind the Maillard Reaction in Chicken Patties
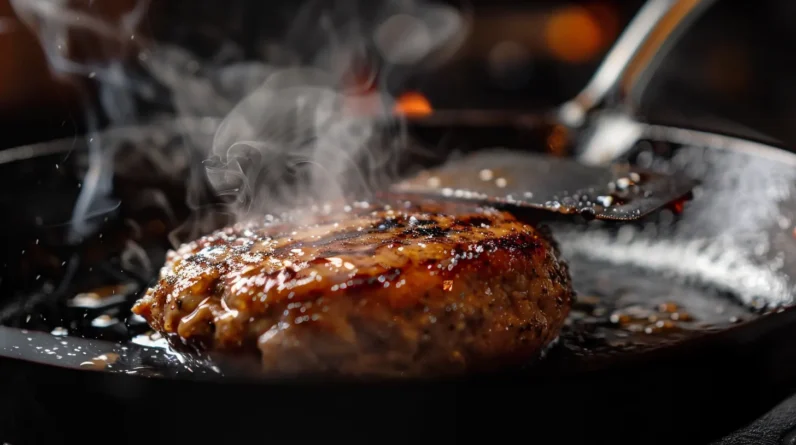
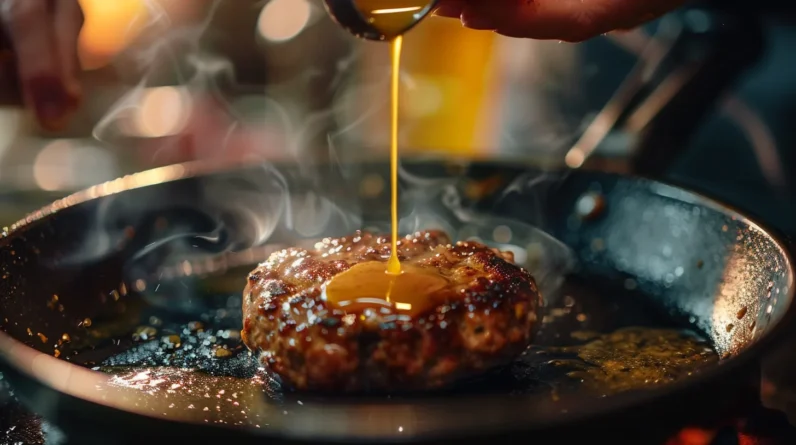
When we apply high heat to chicken patties, we trigger the Maillard reaction—a complex chemical process between amino acids and reducing sugars that transforms pale, bland meat into golden-brown burgers with distinctive savory flavors and aromatic compounds. This cascade of chemical reactions occurs ideally between 285°F and 330°F, generating hundreds of volatile molecules that define a properly seared burger’s taste signature.
Ground chicken’s unique composition—lower in myoglobin than beef but rich in cysteine and methionine—produces distinct flavor profiles when subjected to high-temperature searing. We’re not simply cooking the meat; we’re orchestrating precise molecular transformations. The surface must reach critical temperatures while maintaining interior moisture, creating the textural contrast that separates exceptional burgers from mediocre ones. Temperature control determines success.
Finding Your Sweet Spot: The 375°F to 400°F Range Explained
Precision matters when searing chicken burgers, and the 375°F to 400°F range represents the ideal thermal window for achieving both food safety and superior texture. This ideal temperature zone accelerates the Maillard reaction while preventing surface carbonization that occurs above 425°F. We’ve identified three critical parameters within this range:
- 375°F: Establishes gentle crust development over 4-5 minutes per side, ideal for thicker patties requiring thorough heat penetration
- 385°F: Delivers balanced browning at 3-4 minutes per side, our recommended starting point for standard ¾-inch patties
- 400°F: Generates aggressive surface caramelization in 2-3 minutes per side, perfect for thin-smash-style burgers
The perfect sear emerges when we match surface temperature to patty thickness, ensuring the internal temperature reaches 165°F precisely as best crust forms.
Tools and Techniques for Measuring Pan Temperature Accurately
Achieving consistent results at 375°F to 400°F demands reliable temperature measurement, yet most home cooks rely on guesswork that produces wildly inconsistent sears. We recommend infrared thermometers for instant surface readings across multiple pan zones, revealing heat distribution patterns that visual cues can’t detect. Position the beam at the pan’s center and edges—temperature variations exceeding 25°F indicate inadequate preheating. For cast iron and carbon steel, we’ve found that proper thermometer calibration against boiling water (212°F at sea level) guarantees accuracy within 2°F. The water droplet test offers backup confirmation: at ideal temperature, droplets should form tight, rolling beads that evaporate within three seconds. This dual-verification approach eliminates uncertainty, transforming temperature control from approximation into measurable precision that directly impacts crust development and moisture retention.
Common Temperature Mistakes That Ruin Chicken Burgers
Even with proper measurement tools in hand, most cooks sabotage their chicken burgers through three temperature errors that no amount of equipment can overcome.
Starting with a cold pan extends cooking time, triggering overcooking risks as you compensate by raising heat mid-cook. The exterior chars while the interior remains dangerously undercooked. Second, we’ve observed cooks dropping patty temperature by overhandling meat—warm hands transfer heat, promoting bacterial growth before the burger even hits the pan. Third, inconsistent heat zones create uneven cooking patterns.
- Premature flipping when surface temperature drops below 375°F prevents proper crust formation
- Crowding the pan reduces overall surface temperature by 40-60°F instantly
- Neglecting rest time causes carryover cooking to push internal temperatures past ideal doneness
Underseasoning issues compound when fear of these mistakes leads to rushed technique.
How Patty Thickness Affects Your Searing Strategy
Thickness dictates everything about your searing approach—a ¾-inch patty demands fundamentally different heat management than its 1½-inch counterpart. With thinner patties, we’re executing a high-heat flash sear at 450-500°F, creating crust development in 90 seconds per side before the interior overcooks. Patty formation becomes critical here—uneven meat distribution creates hot spots that carbonize while thinner sections dry out. Conversely, thicker patties require a two-zone technique: initial searing at 375-400°F for crust formation, then indirect heat to reach 165°F internal temperature. We can’t rush thick patties with aggressive heat—the exterior burns before the center reaches safety. Master meat distribution during formation, ensuring uniform thickness from edge to center, and your searing strategy executes flawlessly regardless of dimensions.
Adjusting Heat Throughout the Cooking Process
Static heat settings guarantee mediocre results—we’re manipulating temperature zones actively throughout the cook to achieve proper crust development without sacrificing moisture. Heat control demands precision: we initiate searing at maximum output (450-500°F), then shift to moderate zones (325-350°F) for interior cooking. This dual-phase approach prevents exterior carbonization while ensuring safe internal temperatures.
Critical temperature shifts:
- Initial sear (90 seconds): High heat establishes Maillard reactions and surface proteins denature rapidly
- Middle phase (4-5 minutes): Reduced heat allows gradual thermal penetration without moisture loss
- Final rest (3 minutes): Residual heat continues cooking to target 165°F internal temperature
Cooking timing precision separates exceptional execution from guesswork. We’re monitoring surface color, internal temperature, and juice clarity simultaneously—adjusting burner output responsively rather than adhering to rigid timeframes.
Testing for Doneness While Maintaining the Perfect Crust
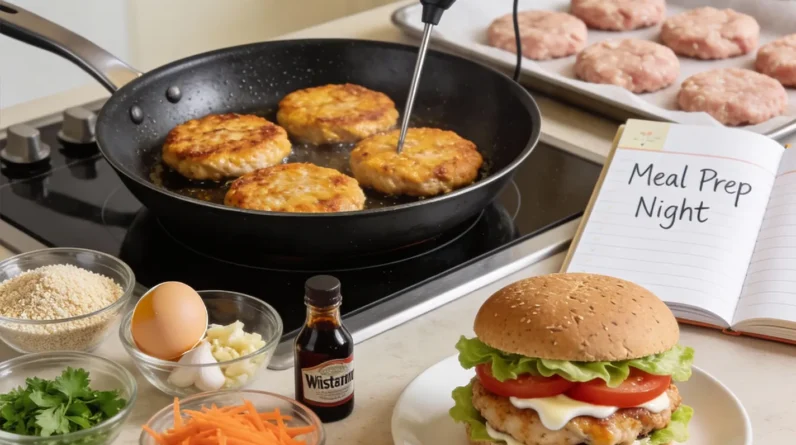
Because penetrating the burger’s surface compromises crust integrity, we’re employing strategic probing techniques that minimize structural damage. Insert the thermometer at a 45-degree angle through the burger’s edge, targeting the geometric center without puncturing the top surface where grill marks reside. We’re aiming for 165°F, withdrawing the probe immediately after confirmation. For visual assessment, press the patty’s center—firmness indicates doneness, though this method requires calibrated tactile experience. Time your temperature check during the final two minutes of cooking, allowing one insertion maximum. This preservation of crust architecture proves critical during burger assembly, where structural integrity prevents moisture from saturating the bun. The unbroken surface maintains textural contrast while channeling juices laterally rather than downward through probe holes.
Conclusion
We’ve mapped the precise coordinates where heat transforms meat into mastery—that 375°F to 400°F threshold stands as the gateway between mediocrity and excellence. Like a blacksmith wielding fire, we control temperature to forge the golden crust that seals in everything we’ve worked for. Our thermometer isn’t just a tool; it’s the compass guiding us through the narrow passage between undercooked centers and burnt exteriors. Temperature mastery defines success.


