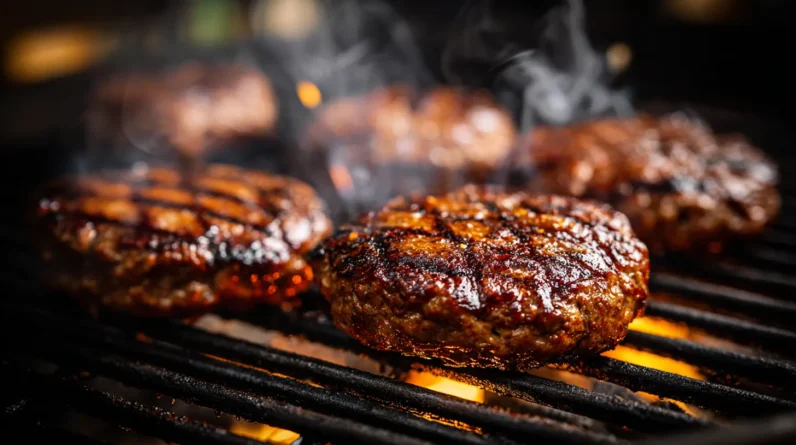
For grilled burgers we can all be proud of, we start with an 80/20 beef blend using chuck, brisket, and short rib. We shape cold, 6-ounce patties to 3/4-inch thickness with a center dimple, then grill on a 450-500°F grate for 3-4 minutes per side. We flip only once and pull at 160°F internal temperature. Stick with us, and we’ll walk you through every detail that separates a good burger from a great one.
The Beef Blend That Makes or Breaks Your Burger
The beef blend you choose is the single most important decision you’ll make when crafting a great burger. We recommend an 80/20 lean-to-fat ratio as your baseline — that 20% fat content delivers the moisture, flavor, and structural integrity a great burger demands. Go leaner, and you’re inviting dry, crumbly disappointment.
Chuck is our go-to foundation, but we elevate the blend by incorporating brisket for deep, beefy richness and short rib for buttery fat marbling. This combination creates a patty that holds together beautifully on the grill while delivering complex flavor.
Always grind fresh when possible, or buy freshly ground from a trusted butcher. Pre-packaged ground beef oxidizes quickly, diminishing both flavor and texture before your patty ever hits the grate.
How to Shape Patties That Hold Up on the Grill
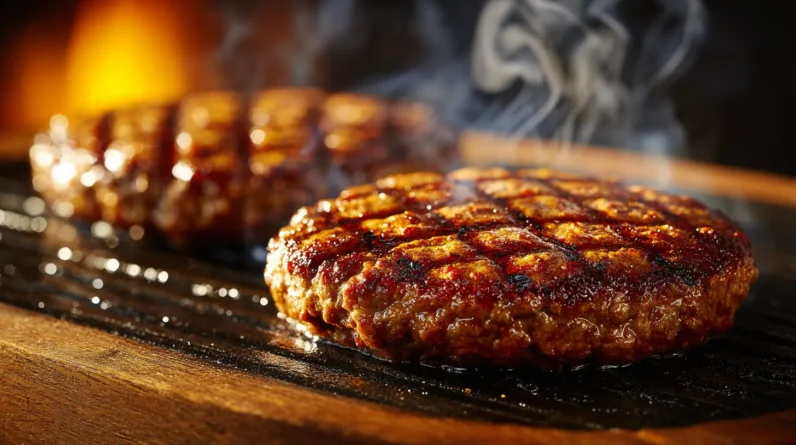
Once you’ve nailed your beef blend, how you handle it determines whether that patty survives the grill intact or falls apart at the worst moment. We keep patties at six ounces, pressed to three-quarters of an inch thick — thin enough for even cooking, substantial enough to hold structure. Cold hands and minimal contact are non-negotiable; overworking develops myosin, turning your patty dense and tight. Press a shallow dimple into the center with your thumb — this counteracts the natural puffing that occurs over direct heat, keeping the patty flat and contact-consistent. Edge compression matters too; pinch the perimeter slightly to prevent cracking. Once shaped, refrigerate patties for at least 20 minutes before grilling — cold fat holds the structure you’ve worked to build.
Get Your Grill Temperature Right Before You Cook
Getting grill temperature right isn’t optional — it’s the difference between a burger with a proper sear and one that steams itself into a grey puck. We preheat with intention, not assumption.
Here’s our standard protocol:
- Preheat for 15 minutes — charcoal or gas, the grates must reach 450–500°F before anything touches them.
- Create two zones — a direct high-heat side for searing and an indirect side for finishing thicker patties safely.
- Test with the hand method — hold your palm 6 inches above the grate; two seconds means you’ve hit high heat.
Skipping this step doesn’t save time — it costs you crust, texture, and credibility.
The Flipping and Timing Rules That Actually Matter
Most grilling myths live in the flip — specifically, in the idea that touching your burger more than once ruins it. That’s fiction. What actually matters is heat management and timing precision.
Flip once at the halfway point only when you’re working with high, consistent heat. On a two-zone setup or when managing flare-ups, flip as needed — just do it deliberately, not anxiously.
For a ¾-inch patty over medium-high heat, expect three to four minutes per side for medium doneness. Thicker patties need adjusted time, not higher heat.
Use an instant-read thermometer: 160°F for well-done, 145°F for medium. Don’t guess. Visual cues lie. Internal temperature tells you exactly where you stand, every time.
How to Tell When Your Grilled Burger Is Done
Knowing exactly when a burger is done comes down to three reliable signals: internal temperature, visual cues, and touch — and not all three carry equal weight.
Temperature wins every time. Here’s what we trust:
- 160°F internal temperature for ground beef — use an instant-read thermometer inserted sideways through the patty’s edge
- Clear juices pooling on the surface signal the proteins have fully set inside
- Firm resistance under a finger press — raw patties feel soft and yielding; done patties push back with structure
We never rely on color alone. A burger can brown prematurely while remaining undercooked inside. The thermometer removes all guesswork and keeps our cookout reputation exactly where it belongs — flawless.
Frequently Asked Questions
What Toppings Pair Best With a Classic Grilled Burger?
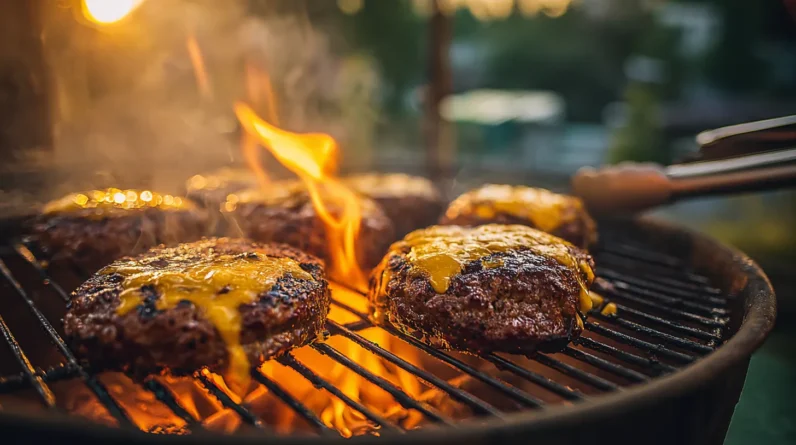
We’ll tell you the winning combo: sharp cheddar, crispy lettuce, ripe tomato, caramelized onions, and tangy pickles elevate your patty. Don’t forget a smear of special sauce to seal your cookout legacy.
Should I Toast Burger Buns on the Grill or Separately?
Sure, toast them separately if you love soggy buns! We’ll toast yours right on the grill — butter-side down, 30 seconds — achieving that golden, sturdy foundation your masterfully grilled burger genuinely deserves.
Can I Grill Frozen Burger Patties Straight From the Freezer?
Yes, we can grill frozen patties straight from the freezer, but we’ll sacrifice crust development and even cooking. We recommend thawing overnight for better Maillard reaction, proper seasoning adhesion, and more controlled doneness throughout the patty.
What Side Dishes Complement Grilled Burgers at a Cookout?
Sure, we could serve sad potato chips from a bag, but let’s elevate our cookout with coleslaw, baked beans, corn on the cob, potato salad, and grilled vegetables — sides that’ll cement our reputation.
How Do I Prevent My Burger From Sticking to the Grill Grates?
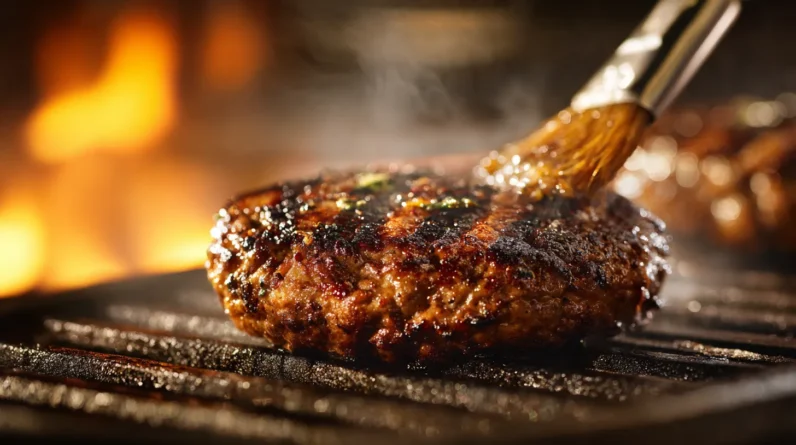
We’ll prevent sticking by preheating our grates until they’re smoking hot, then oiling them with a high-smoke-point oil. Don’t flip too early—once the burger releases naturally, it’s ready to turn.
Conclusion
We’ve covered every step that turns a backyard cookout into a legendary meal. From choosing the right beef blend to nailing that perfect flip, these techniques are the foundation your reputation stands on. Think of your grill as a stage — every burger you pull off it is your performance. Master these basics, and we promise your guests won’t just eat well; they’ll keep coming back for an encore.